How to Bleed Brakes: A Step by Step Guide for Everyday Drivers
A soft brake pedal means air or old fluid sits in your lines. The fix takes basic tools and about an hour. This guide shows how to bleed brakes safely in your own driveway. You will learn the right wheel order and the best solo method. You will also learn what to do when the pedal stays spongy. It also covers fluid types, moisture, and ABS quirks. Read the safety rules first. Brakes are the one system you never guess about.
What Does It Mean to Bleed a Brake System?
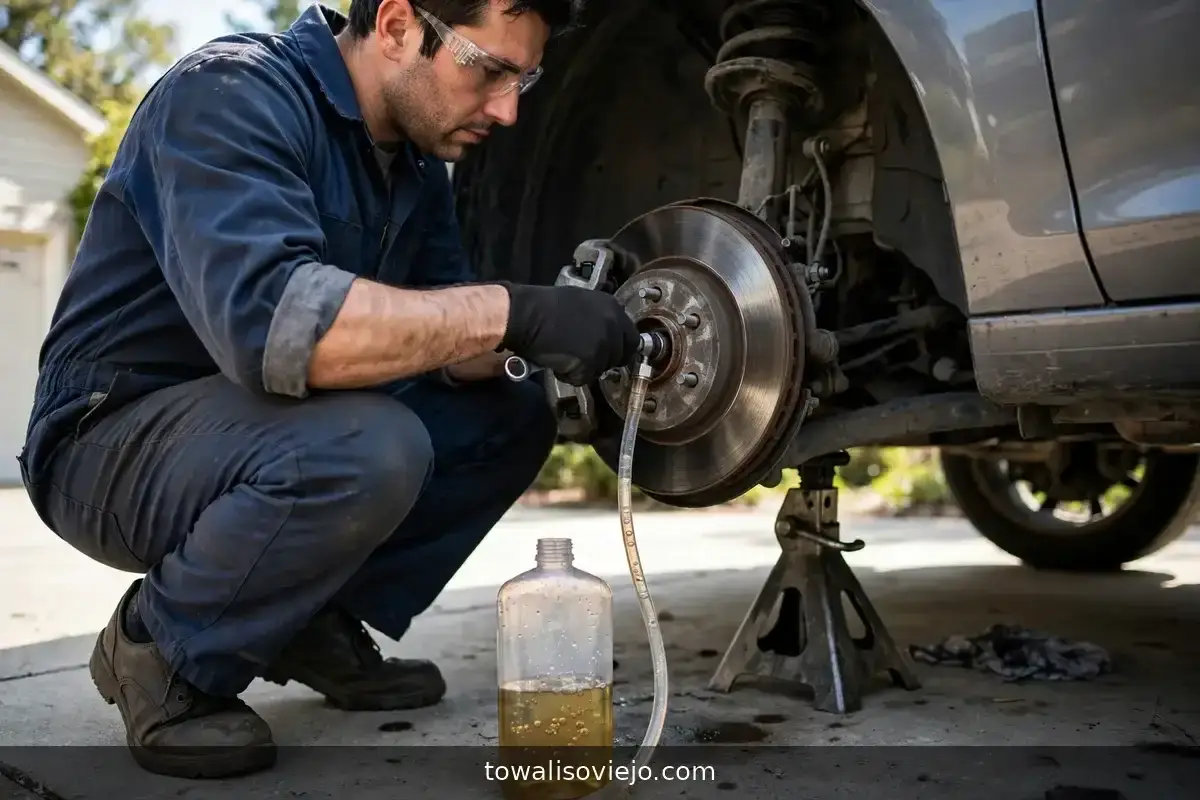
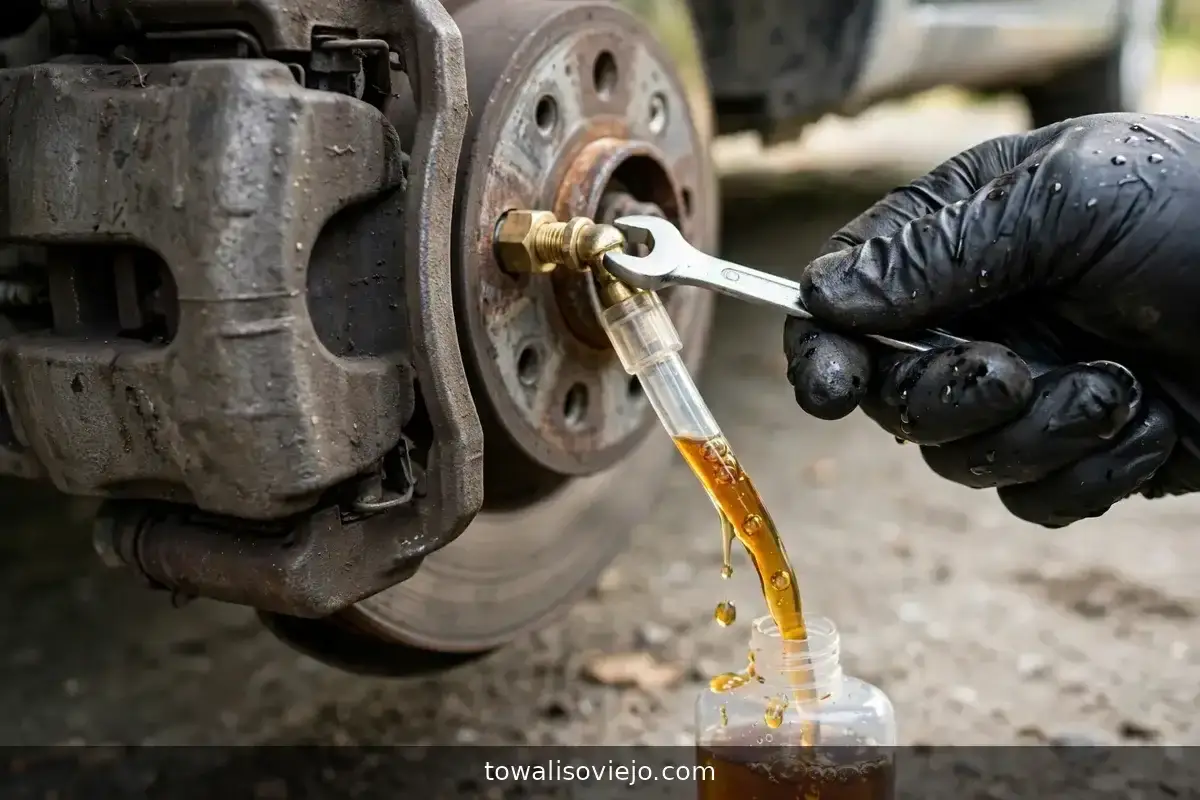
Bleeding brakes removes trapped air and old fluid from the hydraulic lines. You open a bleeder screw at each wheel. Fresh fluid pushes air out through clear tubing. Start at the wheel farthest from the master cylinder and finish at the closest. Keep the reservoir full, then confirm a firm pedal.
Your brakes work by hydraulic pressure. You press the pedal, and the master cylinder pushes fluid through steel lines and rubber hoses. That fluid squeezes the pads against the rotors or the shoes against the drums. Liquid does not compress. Air does. A bubble in the line soaks up pedal travel, and the pedal feels soft.
Air gets in several ways. A new caliper, a wheel cylinder, a brake hose, or a master cylinder lets air into the circuit. A low reservoir does the same. A leaking line also pulls air in.
Moisture is the second enemy. Brake fluid absorbs water from the air over time. Water lowers the boiling point of the fluid. Hard braking on a long grade can then boil the fluid. Think of the descents on Interstate 70 in Colorado. Steam bubbles form, and the pedal sinks to the floor. A bleed with fresh fluid cures both problems.
Safety Rules Before You Open a Bleeder
Brake fluid hurts skin, eyes, and paint. A brake job also puts your life on the line. Follow these rules every time.
- Park on level ground and chock the wheels that stay on the pavement.
- Lift the car with a jack and support it on jack stands. A jack alone can fail.
- Wear nitrile gloves and safety glasses.
- Cover nearby paint. Brake fluid strips clear coat fast.
- Keep a wet rag close and wipe every spill at once.
- Close the fluid bottle after each pour. Open fluid soaks up moisture.
- Take old fluid to a recycling center or an auto parts store that accepts it.
What Tools and Supplies Do You Need?
Gather everything before you lift the car. A stuck job with a half open system is a bad place to hunt for a wrench.
- Fresh brake fluid that matches your owner manual
- A 10 millimeter wrench, or the size your manual lists
- Clear tubing that fits snugly over the bleeder nipple
- A catch bottle with an inch of fresh fluid in the bottom
- A jack, jack stands, wheel chocks, and a lug wrench
- A turkey baster to pull old fluid from the reservoir
- Penetrating oil, brake cleaner, and shop rags
- A helper, or a one person bleeder kit
Choose a six point box wrench or a flare nut wrench. An open end wrench rounds off bleeder screws. Rusty bleeders are common in the salt belt. Drivers in Chicago and Minnesota fight them every winter. Spray the screws with penetrating oil the night before.
How to Bleed Brakes With a Helper, Step by Step
The two person method is the classic way. It needs no special tools beyond the list above.
- Loosen the lug nuts, lift the car, and remove the wheels.
- Pull the old fluid out of the master cylinder reservoir with the baster.
- Refill the reservoir with fresh fluid to the max line.
- Slide the tubing onto the first bleeder and drop the other end into the catch bottle.
- Ask your helper to press the pedal slowly and hold steady pressure.
- Open the bleeder about a quarter turn. Fluid and air flow out.
- Close the bleeder before your helper lifts a foot. This rule matters most.
- Have your helper release the pedal slowly and wait three seconds.
- Repeat until the fluid runs clean with no bubbles.
- Check the reservoir after every few strokes and top it off.
- Snug the bleeder. Do not crank it. Small screws snap easily.
- Move to the next wheel and repeat.
Most wheels need at least two or three cycles. Old fluid often needs more. Watch the color. Fresh fluid looks clear or pale yellow. Old fluid looks dark and cloudy.
Never let the reservoir run dry. A dry reservoir pulls air straight back into the lines. You would then start over at every wheel. A full flush of the whole system usually uses about one quart.
Pump the pedal gently. Hard, fast strokes stir tiny bubbles and make the fluid look foamy. Slow strokes move air out cleanly.
What Order Should You Bleed the Brakes?
Most mechanics bleed from the longest line to the shortest. On most American cars with the master cylinder on the driver side, the order runs like this:
- Right rear
- Left rear
- Right front
- Left front
The longest run clears first, so later wheels send fewer bubbles back through the system. Some makers use a different sequence. Diagonal split circuits and ABS equipped cars often change the order. The service manual always wins. Check it before you open the first bleeder.
Bleed all four corners after any major work. If you only opened one line, many shops bleed that wheel and then its circuit partner. A full flush is safer. It also refreshes old fluid everywhere.
Can You Bleed Brakes Without a Helper?
Yes. Four solo methods work well. Pick the one that fits your tools and your patience.
- Check valve kit. A one way valve on the hose stops air from creeping back. You can pump the pedal without closing the bleeder between strokes. This method costs little and works for most drivers.
- Vacuum pump. A hand pump pulls fluid and air out through the bleeder. It works fast, but air can leak past the bleeder threads and fake a bubble stream. A wrap of PTFE tape on the threads helps.
- Gravity bleeding. Open the bleeder and let fluid drip out on its own. It needs no tools but patience. Plan on up to an hour per wheel, and keep topping off the reservoir.
- Pressure bleeder. A tank pushes fluid in through the reservoir at low pressure, often about 10 to 15 psi. Shops love it. Follow the adapter instructions closely.
- Reverse bleeding is another choice. A syringe pushes fresh fluid up from the bleeder toward the reservoir. Air rises with the fluid and escapes at the top. Use it when a caliper hides stubborn bubbles.
Why Is My Brake Pedal Still Spongy After Bleeding?
A spongy pedal after a bleed has a reason. Work through the list from easiest to hardest.
- Low reservoir. If it ran dry once, air entered the lines. Bleed again.
- Air in the ABS unit. The hydraulic control unit holds valves, a pump, and small chambers. A normal wheel by wheel bleed may miss trapped air there. Some cars need a scan tool to cycle the ABS pump, followed by another bleed.
- Bleeder screw angle. Air rises. A bleeder must sit at the high point of the caliper. Rotate the caliper if the manual allows.
- Leaking threads. Air sneaks in past a worn bleeder screw. Add PTFE tape or replace the screw.
- Swollen hoses. Old rubber hoses balloon under pressure and mimic air.
- Sticking caliper slides. The pad drags and the pedal feels odd.
- Master cylinder wear. If the pedal slowly sinks under steady pressure, suspect internal seal leakage.
A pedal that feels fine in the garage but fades later points to air in the ABS unit. Take that symptom seriously. Do not drive it hard until a shop checks it.
How Often Should You Change Brake Fluid?
Plan on every two years as a safe rule. Your owner manual sets the real interval. Many European makers call for 24 months. Many Japanese makers call for 36 months.
Water builds up faster than most drivers expect. An average car may carry about 2 percent water after one year. It may reach 3 percent at 18 months. A government survey by NHTSA found that one in five sampled vehicles held 5 percent water or more.
Water cuts the boiling point hard. Fresh DOT 3 fluid must boil at no less than 401 degrees Fahrenheit. Fully wet DOT 3 only has to reach 284 degrees. Fresh DOT 4 starts at 446 degrees and drops to 311 when wet. At 3 percent water, DOT 3 boils near 293 degrees. Stop and go traffic in Atlanta and mountain descents both push fluid temperatures up.
You can test the fluid at home. Chemical test strips change color as corrosion inhibitors wear out. A strip reading of 200 means the fluid needs replacing. A shop can also use an electronic boiling point tester or a refractometer. Do not trust color alone. Dark fluid is bad, but clear fluid can still hold too much water.
Which Brake Fluid Should You Use?
Use the fluid your owner manual names. The cap on the reservoir often lists it too. Most cars take DOT 3, DOT 4, or DOT 5.1. These are glycol based and mix with each other. DOT 5 is silicone based and does not mix with the others. Never add it to a glycol system.
Buy a fresh sealed bottle for each job. Never reuse drained fluid. Open fluid keeps absorbing water from the air, even in a closed cabinet. Write the open date on the bottle and toss it after a few months.
Final Checks Before You Drive
Now you know how to bleed brakes the safe way. Do not skip the last checks.
- Close every bleeder and top off the reservoir to the max line.
- Pump the pedal with the engine off. It should feel firm and high.
- Hold steady pressure for 30 seconds. The pedal must not sink.
- Clean every spill and wipe the wheel and caliper.
- Look for wet spots around bleeders, hoses, and fittings.
- Reinstall the wheels and tighten the lug nuts to factory torque.
- Test the brakes at walking speed in an empty lot.
- Stop if the pedal feels soft or sinks. Tow the car to a shop. A second bleed is cheap, and a failed brake is not. Keep a few extra bottles of fresh fluid in the garage so you always finish the job at once.
What does it mean to bleed brakes?
Bleeding brakes removes trapped air and old fluid from the hydraulic lines. You open a bleeder screw at each wheel so fresh fluid pushes the air out through clear tubing, then confirm a firm pedal.
What order should you bleed brakes in?
Bleed from the longest line to the shortest, usually right rear, left rear, right front, then left front on most American cars. Some makers use a different sequence, so the service manual always wins.
Can you bleed brakes without a helper?
Yes. Four solo methods work well: a check valve kit, a vacuum pump, gravity bleeding, or a pressure bleeder, plus reverse bleeding with a syringe for stubborn bubbles.
Why is my brake pedal still spongy after bleeding?
Common reasons are a reservoir that ran dry, air trapped in the ABS unit, a bleeder screw that is not at the high point of the caliper, leaking bleeder threads, swollen hoses, sticking caliper slides, or a worn master cylinder.
How often should you change brake fluid?
Plan on every two years as a safe rule. Many European makers call for 24 months and many Japanese makers for 36 months, but your owner manual sets the real interval.