
How to Clean Headlights: A Mechanic’s Step by Step Guide
Yellow, foggy headlights look bad. They also cut how far you see at night. I replace bulbs for drivers who blame the bulb when the lens is the problem. A clean lens often fixes the dim glow. This guide shows you how to clean headlights at home with simple tools. You will learn the quick fixes, the lasting fix, and the one step most people skip.
How to Clean Headlights Without Damaging Them
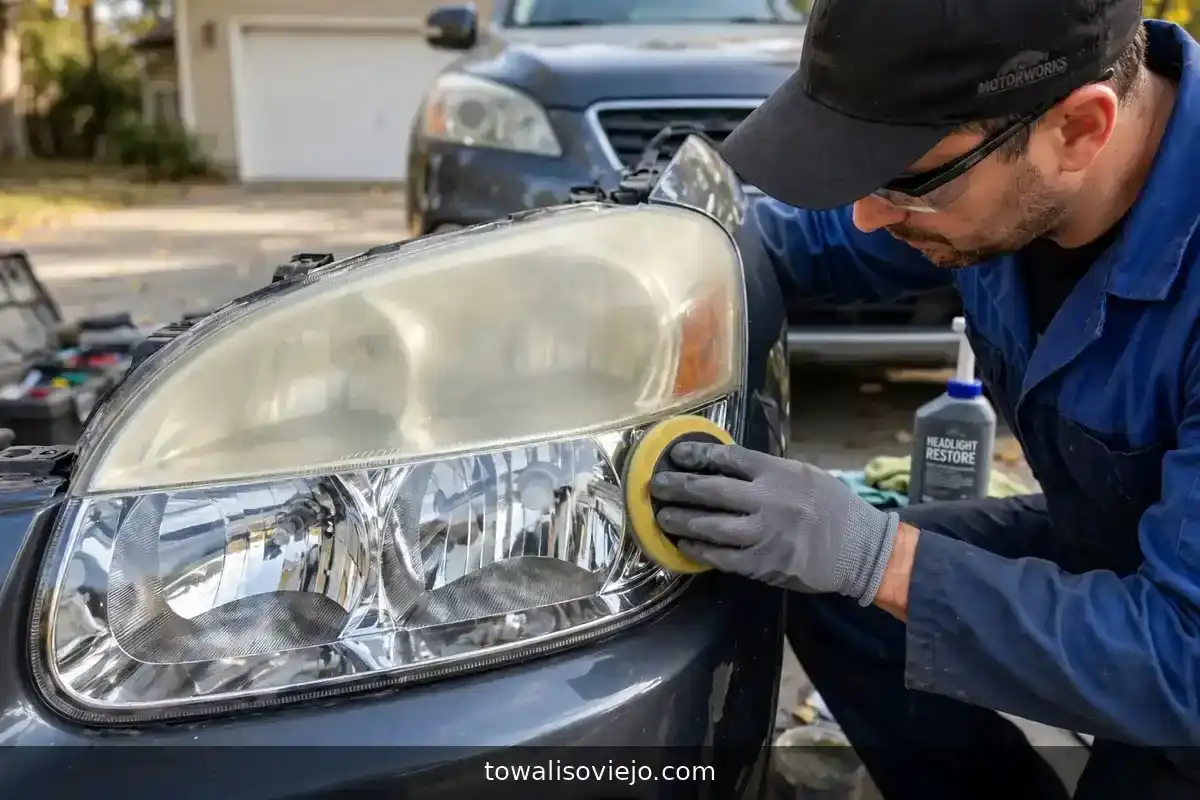
Wash the lens with soap and water. Tape off the paint. Wet sand with 400, then 1,000, then 2,000 grit paper. Polish with a clarifying compound. Wipe the lens clean. Seal it with a UV clear coat. Let the coating cure for four to six hours.
Each step matters. Washing removes grit that scratches the lens. Tape protects the paint. Sanding removes the dead outer layer. Polish brings back clarity. The sealant keeps the sun from clouding the lens again.
Work in the shade on a dry day. Keep the temperature above freezing. Heat and direct sun make the sealant dry too fast and leave streaks.
Why Are My Headlights Cloudy?
Makers mold modern headlight lenses from polycarbonate plastic. The factory coats them with a clear hard layer. Sun, heat, rain, and road grit wear that layer down. The plastic then oxidizes. It turns yellow, dull, and rough. Parking outside every day speeds it up. Many cars show haze after five to seven years.
Watch for these signs.
- A yellow or brown tint on the lens.
- A frosted look that wipes off only a little.
- Dim light at night, even with new bulbs.
- Glare or scattered light on the road ahead.
Cloudy lenses scatter light. Less light reaches the road. AAA testing has shown that aged, hazy lenses cut light output sharply. NHTSA sets federal rules for headlight output and aim. A foggy lens can push your car below what those rules expect.
Run a fingernail over the lens. A rough, grainy feel means oxidation on the outside. Cleaning will help. A smooth lens that still looks cloudy often has moisture inside the housing. Cleaning cannot fix that. You need to reseal or replace the assembly.
Climate speeds the damage. Desert sun in Phoenix or Las Vegas bakes lenses fast. Road salt in Chicago or Minnesota etches the surface in winter. Long trips on Interstate 95 or Interstate 80 add bug splatter and tar.
Do Toothpaste and Baking Soda Really Clean Headlights?
They help a little, but only for a short time. Both act as mild abrasives. They scrub away light haze. They do not rebuild the lost protective layer. Think of them as a quick cosmetic fix.
Here is the household method.
- Wash the lens with dish soap and warm water.
- Tape off the paint around the light.
- Rub baking soda toothpaste on the lens with an old toothbrush.
- Scrub in small circles until the paste turns brown.
- Let it sit for a few minutes.
- Rinse with warm water and dry with a soft cloth.
- Apply a UV sealant right away.
Use plain paste with baking soda. Avoid whitening or gel toothpaste. Plain paste has the right grit.
Never skip the last step. Scrubbing strips the oxidized layer and leaves bare plastic. Without a sealant, yellowing often returns in about a month. Baking soda mixed with water works the same way. It is gentle, so it only fixes light haze.
For heavy yellowing, move on to wet sanding. It cuts deeper and lasts much longer.
What Do I Need to Clean Headlights at Home?
Gather these items before you start. Most cost little.
- Dish soap and a bucket of clean water.
- Microfiber towels.
- Painter’s tape.
- Wet sandpaper in 400, 1,000, and 2,000 grit.
- A spray bottle filled with water.
- A clarifying compound or plastic polish.
- A UV clear coat or sealant made for headlights.
- Gloves and safety glasses.
Buy extra sandpaper. A sheet can tear or clog during the job. A boxed restoration kit often holds most of these parts. A kit saves time. Check that it includes a real UV coating. A kit with no sealant gives only a short fix.
Park the car in a garage or shady spot. A tight parking garage in Manhattan or Atlanta works well if the air flows. Open the door to let fumes clear. Wear gloves, because sealant sticks to skin. Keep pets and kids away while the coating cures. Dust and insects landing on wet coating leave marks.
How Do I Wet Sand Headlights Step by Step?
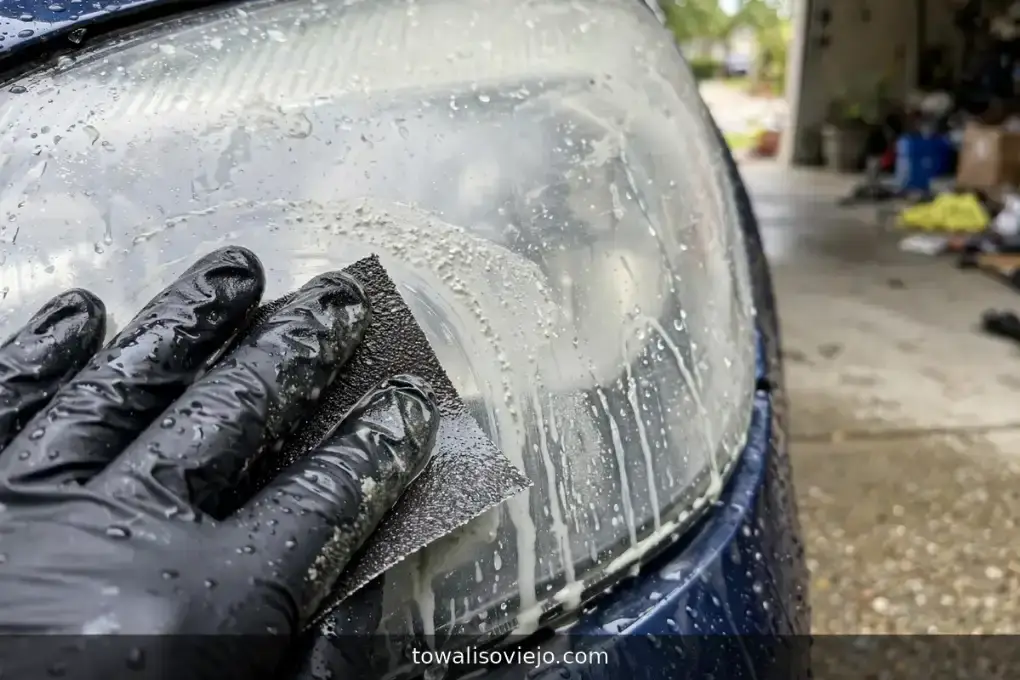
Wet sanding gives the best results. Take your time and keep everything wet.
- Wash and dry the lens.
- Tape off the paint with two layers of painter’s tape.
- Soak the 400 grit paper in water for five minutes.
- Wet the lens. Sand with even passes in one direction. Keep the surface wet.
- Wipe the lens. It should look evenly frosted.
- Switch to 1,000 grit. Sand in the opposite direction.
- Repeat with 2,000 grit. The lens should look smooth and lightly hazy.
- Rinse and dry.
- Polish with the clarifying compound for about five minutes per lens.
- Rinse again and dry the lens fully.
- Apply the UV coating in one smooth, even layer.
- Let it cure for four to six hours. Keep the car dry during that time.
Spend about two to three minutes on each lens at each grit. Check the surface after every pass. Stop when the old yellow tint is gone and the frosting looks even.
Always start with the lowest grit, then move up. Skipping a grit leaves deep scratches. Press lightly. Heavy pressure can gouge the plastic. Rinse often so grit does not scratch the lens.
Check your work in daylight. Look for dull spots or scratches. Go back to the last grit if you see any. Then finish the polish and sealant.
Can I Use Oil Sprays or Household Cleaners on Headlights?
No. Skip oil based sprays. They leave an oily film. The oil can seep into the housing and reach the bulb. It also fails to remove oxidation. Glass cleaners and harsh solvents are no better. Strong chemicals can craze polycarbonate. That leaves tiny cracks you cannot polish out.
Use only gentle soap, water, and products made for plastic lenses. Avoid brake cleaner, paint thinner, and acetone near the headlight. Do not use a pressure washer at close range. It can force water past the seals.
Stay away from steel wool and rough scouring pads. They carve deep scratches that sanding must then remove.
How Long Does a Headlight Restoration Last?
It depends on the sealant and your climate. A good UV clear coat can last months to a couple of years. A cheap wipe or no sealant may fail in weeks. Heat and sun shorten the life of any coating.
Desert states test a coating hardest. Phoenix and Las Vegas sun can wear a thin sealant in one season. Salt and slush in Chicago or Minnesota also wear it down. A garage helps in every climate.
Extend the life with simple habits.
- Park in a garage or shade when you can.
- Wash the lenses with a soft mitt and mild soap.
- Add a coat of UV protectant every six months.
- Reapply the sealant if water stops beading on the lens.
- Rinse off bugs and tar soon after a long road trip.
A ceramic style lens coating can add protection. Follow the product directions and keep the lens clean first. Even the best coating wears down over time. Plan to recheck the lenses once a year.
Is Headlight Restoration Worth the Effort?
Yes, in most cases. A home kit costs far less than a new headlight assembly. A new assembly can run hundreds of dollars for each side. Professional restoration costs more than a kit but often lasts longer. It also gives smoother results if you lack sanding experience.
Restoration also helps your safety. A clear lens pushes more light onto the road. You see signs, animals, and debris sooner. That matters on dark stretches of Interstate 80 and rural roads at night.
Do the job on both lights, even if only one looks bad. Matching lenses give an even beam pattern. Mismatched lenses can make one side look brighter than the other.
When Should I Replace the Headlight Instead?
Cleaning cannot fix every problem. Replace the assembly in these cases.
- Moisture sits inside the housing.
- The lens has cracks or deep pits.
- The reflector inside looks burned or peeling.
- The plastic stays cloudy after proper sanding.
Test the bulb and wiring too. A dim light may not be a lens problem. Set a multimeter to 20 volts DC. Touch the probes to the bulb connector with the lights on. You should see close to battery voltage. A healthy system reads about 12.6 volts at rest and 13.7 to 14.7 volts with the engine running. A reading below 12 volts at the plug points to a bad ground or a corroded connector.
A used or aftermarket assembly can save money. Match the part to your exact make, model, and year. Bulbs fade with age. Most halogen bulbs lose output well before they burn out. Replace them in pairs. Fresh bulbs behind a clean lens give the best light.
After any work, check the aim. Park on level ground facing a wall at night. Both beams should sit level and point slightly down. A poor aim blinds other drivers.
Keep Your Lenses Clear for Safer Night Driving
Now you know how to clean headlights the right way. Start with a wash. Use toothpaste for light haze and wet sanding for heavy yellowing. Always seal the lens with a UV coating.
Test your work at night. Park facing a garage door and turn on the low beams. The light pattern should look sharp with a clear cutoff line. A fuzzy edge or dark patches mean the lens or aim needs more work.
Check your lenses each season. Keep a small kit in the garage. If moisture or cracks show up, ask a certified technician to check the assembly. Clear lenses help you see farther and react sooner on every dark road.
Why are my headlights cloudy?
Modern lenses are polycarbonate with a factory clear hard coat. Sun, heat, rain, and road grit wear that coat down, the plastic oxidizes, and it turns yellow, dull, and rough. Many cars show haze after five to seven years, faster if parked outside every day.
Does toothpaste really clean headlights?
It helps a little, for a short time. Toothpaste and baking soda are mild abrasives that scrub away light haze, but they do not rebuild the lost protective layer. Without a UV sealant right after, yellowing often returns in about a month.
How do I wet sand headlights step by step?
Wash and dry the lens, tape off the paint, soak 400 grit paper for five minutes, sand wet in one direction, switch to 1,000 grit in the opposite direction, repeat with 2,000 grit, rinse, polish about five minutes per lens, apply one even UV coat, and let it cure four to six hours.
How long does headlight restoration last?
A good UV clear coat lasts months to a couple of years; a cheap wipe or no sealant may fail in weeks. Heat and sun shorten any coating. Park in shade or a garage, wash gently, and reapply UV protectant every six months.
When should I replace the headlight instead?
Replace the assembly when moisture sits inside the housing, the lens has cracks or deep pits, the reflector looks burned or peeling, or the plastic stays cloudy after proper sanding.